Congratulations! You’ve purchased a spectacular painting. You got it home, but have no idea of how to properly hang your work. Don’t worry! Hanging artwork can be a lot of fun. We will give you tips that will help you hang artwork like a pro!
Hanging Up Art In Your Home Can Make You Happier!
Art hanging will be easier with the right tools.

List of Tools:
1. Hammer
2. Tape Measure
3. Level
4. Pencil
5. Wall-Plug Mortar/Concrete Anchors or Drywall Anchors
6. Nails
7. Strap Hangers
8. Floreat Hangers
9. Wire
For light-weight pieces: Small Nails
For medium-weight pieces: Floreat Hangers
For heavier pieces: Big Nail and/or Wall-Plug Mortar/Concrete Anchors, Screws that fit them, and a Screwdriver
When hanging a piece of flat art, we always recommend using double fixings on either side of the work, rather than a single, central fixing.
NOTE:
If you're hanging on tile or glass, you'll need good-quality, low-profile adhesive hooks rather than nails and screws, and if you're hanging on brick, use brick clamps.

How to Determine the Right Height and Place
Tip #1
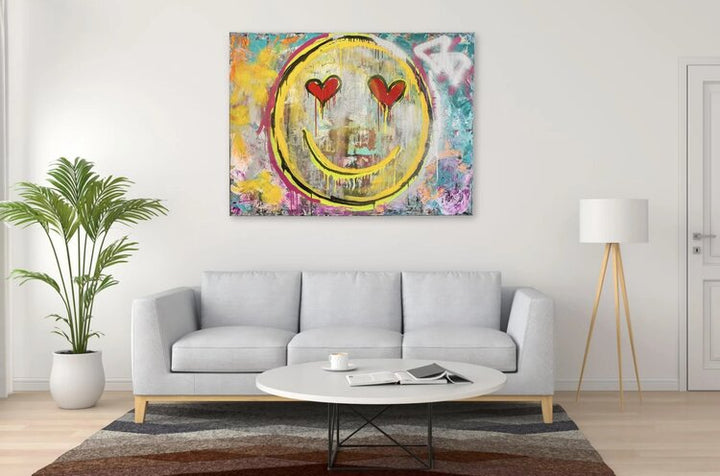
Hang single artwork pieces at eye level. It’s best to hang single artwork at eye level, and 57 inches from the center to the floor is the magic number. This is also the height galleries and museums use to decide where to hang pieces.
Mark that height using a pencil, then measure to find the middle of the wall (from side to side) and mark where the two points meet.
There are a few exceptions to this rule: If you have really low ceilings (less than 8-9′), divide the vertical length of your wall into quarters and hang your art in the third quadrant up from the floor.
Tip #2
If you’re hanging your art above furniture, it can be 6-10 inches above the piece even if this breaks the 57-inch rule. Art hung over a piece of furniture should not be wider than the width of the furniture, a general principle being that the art should be about 50-75% the width of the furniture.
Tip #3
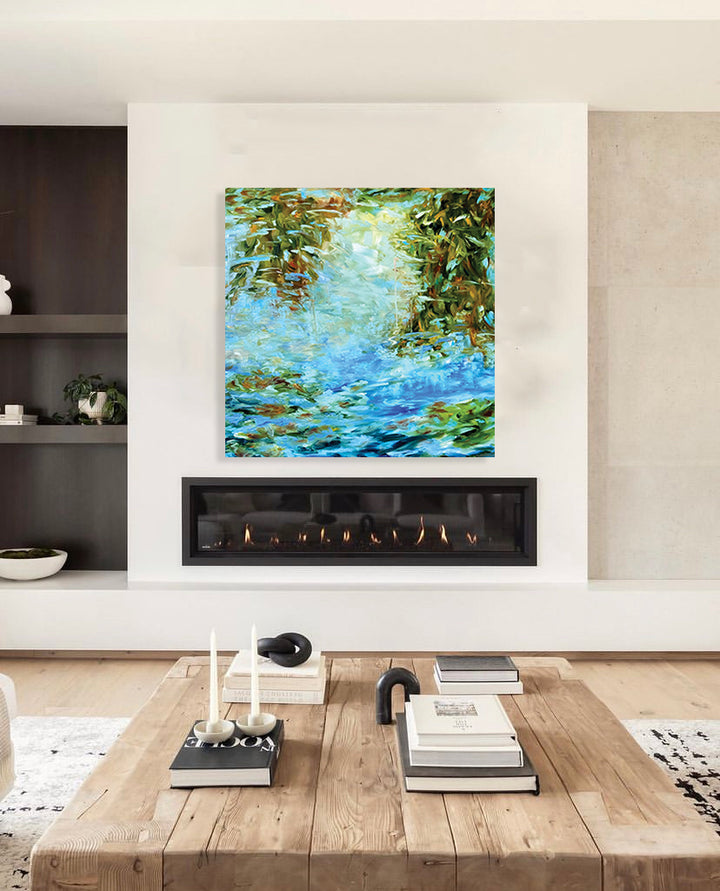
Avoid locations that could cause damage. We don’t recommend to hung art above a fireplace. Over time, the canvas can melt or be damaged. Similarly, light can fade fragile or unprotected works. Beware of direct sunlight, and we recommend not to hang a drawing or a watercolor near a window.
Tip #4
Symmetrical Placement is great for pieces that are similar in size, shape, and subject matter. This method allows you to create a grouping that has visual balance and is perfect over large furniture collections or fireplace mantles. However, symmetry is not required - lack of perfect symmetry creates a more relaxed feeling.
Create a story to tell. The arrangement doesn't have to be centered and you don't have to follow any type of official grid.
To hang 4 pictures in a square, for example, keep spacing even between them, and keep them fairly tight.
Tight spacing = 1-2”
Normal spacing = 4-6”


Tip #5
Go beyond the living room walls and try to hang art in unexpected places like powder rooms, the end of a long hallway, the inside of a stairwell, or the wall at the top or bottom of a stairwell.
Tip #6
Before you put any holes in your wall, it’s a great idea to sketch the layout of your gallery wall. You can also cut pieces of paper the size of your pictures and arrange them on the wall in the desired positions. This can also be done using the painter’s tape.
Don’t worry about holes in the wall! Better to make a few extra holes in the wall to get the placement just right, than have the piece hung incorrectly. Holes are easily patched and painted over.
What NOT to do with Artwork!
Don't hang artwork on every single wall in a room! Leave at least one wall free of art.
Don’t use different frames that have nothing in common to create groupings. The end result will look cluttered and inharmonious.